- 05 Oct 2025
- 1 Minute to read
- Print
- DarkLight
Quick and Normal Testing Communications
- Updated on 05 Oct 2025
- 1 Minute to read
- Print
- DarkLight
Abstract
Product: Acoustic Campaign
Quick and Normal Testing Communications
A quick test ignores any content issues, and sends the template to the recipients for them to review it.
A normal test alerts you of any issues that are found within the communication that need to be addressed.
It is recommended that you insert recipients from your organization for test emails.
Relevant eLearning:
Process:
Quick Test
Select Test Options → Quick Test.

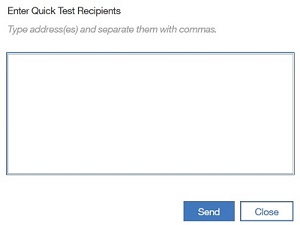
Insert the recipients as required, and click Send.

The recipient receives the template to review.
A template is quick saved before testing in case your recipients require time to review the content.
Normal test
Select Test Options → Normal Test.

Acoustic Campaign assesses the template for all required content. If the communication contains all of the required content, the Test options window opens, if not, update the communication as required before testing.


The Select mailing draft window might open. Select the name of the draft to test.

The Test your mailing window opens
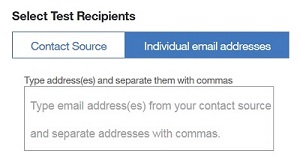
Select the test recipients.

Enter a list of recipients.
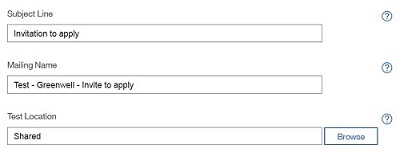
Enter the settings for the test email, such as a subject, and mailing name. Set the Test Location to Shared.

Insert the Test Address Settings.
Use Mailing Settings is selected by default, and populates the fields with the information from the Address Settings page.
Override Mailing Settings can be used to change the information in these fields as required.
Toggle the Personalization Settings On or Off.
If set to on, select test contacts from a contact source or enter email addresses.
Set the Test Mailing Bodies option.
Selecting Send separate mailing for each body, sends a separate email to the recipients based on the HTML body tag.
If there is more than one set of body tags, the recipient is able to review each set as a separate email.
If you want the recipient to review one email, select Send one muli-part mailing.

Insert any applicable tags to the test.
Select whether to use a standard or custom opt-out link.
This option provides Leads with a link to click that removes them from any mailing lists.
Selecting a Custom Opt-Out link provides an area to insert a URL to open upon clicking.
The Site Analytics Package is automatically selected, based on your organizations implementation.
Select Send Test Now.
A notification displays stating that the Test Mailing was sent.

The recipient receives an email with the template to review.
