- 28 Feb 2024
- 1 Minute to read
- Print
- DarkLight
Managing Onboard Users in a Talent Suite Environment
- Updated on 28 Feb 2024
- 1 Minute to read
- Print
- DarkLight
Abstract
User management for Onboard in a Talent Suite environment.
This topic provides a brief overview of user management for Onboard in a Talent Suite environment. User management is done via the Talent Suite Admin application, from its Manage Users menu/screens.
Refer to the Talent Suite Admin Application Guide for detailed information about using the Admin application.
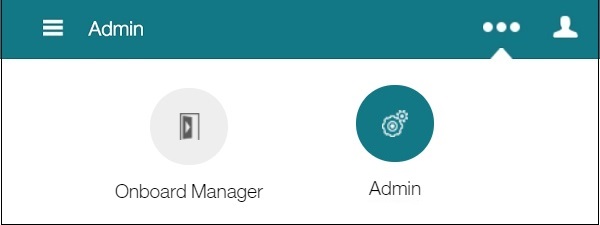
Admin application in the Talent Suite:
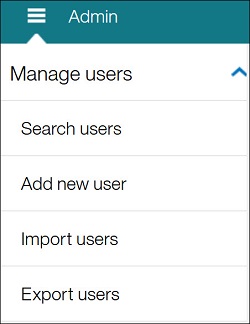
Admin application navigation menu and resulting Manage Users menu:
In the Talent Suite, access the Admin application by first selecting the
 icon.
icon.In the resulting application row, select the Admin icon. Note: To launch the Onboard Manager application, select the Onboard Manager icon.
Display the Admin navigation menu by selecting the
 icon.
icon.From the menu, expand the Manage Users menu item. You can perform the following tasks:
Search Users (and edit existing user
Add New User
Import Users (bulk import)
Export Users (bulk export)
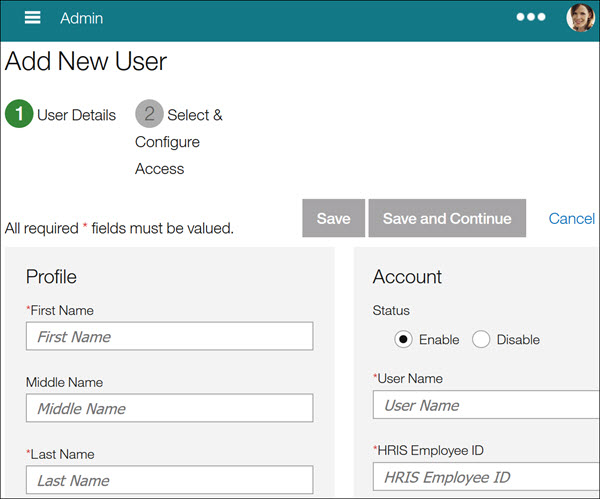
To add a new user, select Add New User from the Admin menu. The Add New User screen displays. Enter Profile and Account information and select Save or Save and Continue. On the resulting page, in the Access pane, select Onboard to expands its fields.
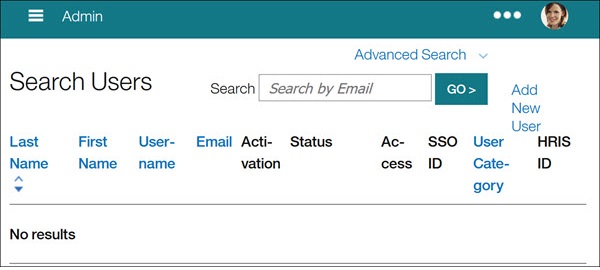
To search for existing users, select Search Users from the Admin menu. The Search Users screen displays. Do a search (or advanced search) to locate a user.
Regardless of whether you did Add New User or Search Users, on the resulting page, scroll to the Onboard pane, and select Onboard to expands its fields. You see the following screen:
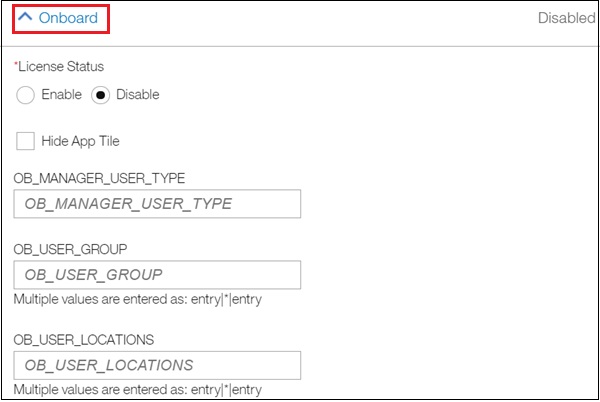
Select Enable or Disable for the License Status field,
Select the Hide App Tile check box if you don't want the Onboard Manager application tile to display in the Talent Suite.
Enter the user type in the OB_MANAGER_USER_TYPE field. Refer to the User Types topic for a description of the allowable entries.
Enter the user group in the OB_USER_GROUP field. You can enter more than one. To do so, use this format: entry|*|entry. Note: User Groups are managed from the Onboard Configuration application.
Enter user locations in the OB_USER_LOCATIONS field. You can enter more than one. To do so, use this format: entry|*|entry.
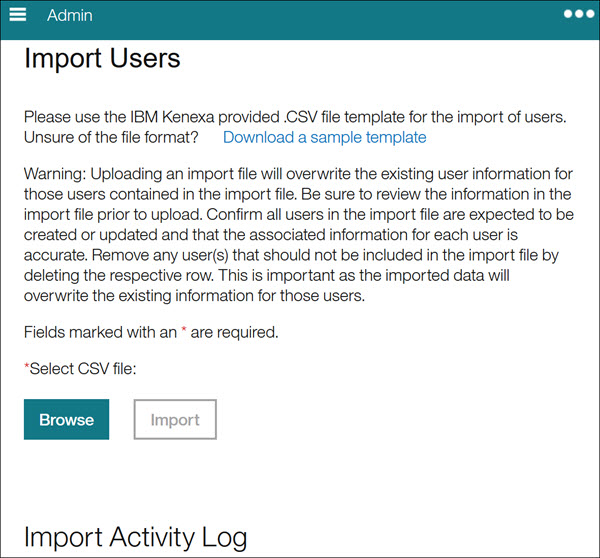
To do a bulk import of users, select Import Users from the Admin menu. The Import Users screen displays. Note: When manually entering a locale, you can't use the same format as what you see in various drop-down lists for the Locale field. For example, enter: en_US.
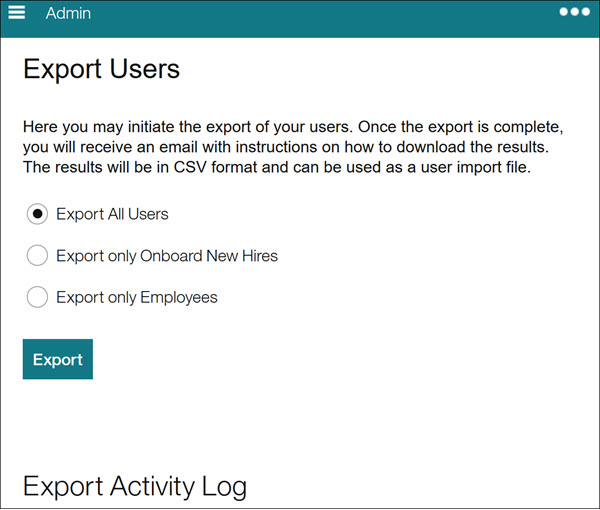
To do a bulk export of users, select Export Users from the Admin menu. The Export Users screen displays.
