Abstract
Product: Acoustic Campaign
Add, Edit, or Delete, Custom Fields in your database.
When adding fields, the field name and field type must match the database field name from workbench exactly. The field names can be modified when added to a Landing Page.
Relevant eLearning
Process:
Add Custom Fields
Select Menu → Data → Databases and open the database that is connected to Lead Manager.
Select the Fields tab.
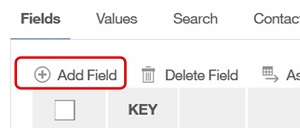
Select Add Field.

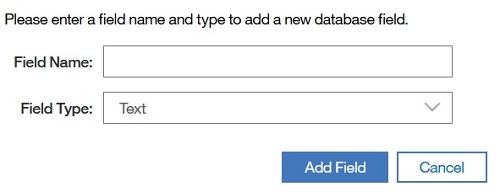
In the Field window, enter a unique field name.
Select the field type by using the pull-down menu.

Select Add Field.
Edit Custom Fields
Access the database that is connected to Lead Manager.
Select the Fields tab.
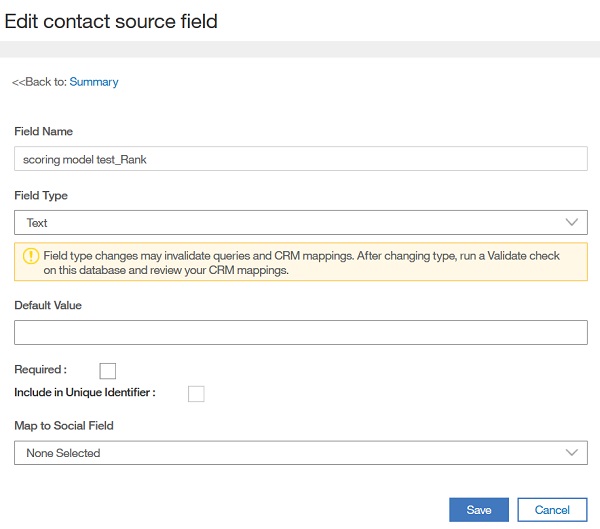
Select Edit, or Rename.

The Edit Contact Source field opens. Update the Field Name, Field Type, set a default value, and set whether the field is required, or to include in a Unique Identifier. Do not change Field Types.

Select Save.
Delete Custom Fields
Access the database.
Select the Fields tab.
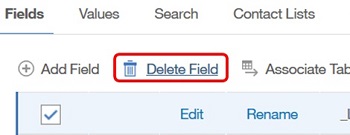
Check the field.
Select Delete Field.

A confirmation window opens. Select OK to delete the field, or Cancel to leave the field.
The Delete Fields Data Job page details the deletion job. Check Email Notification if you want to be notified by email when the Job is complete.

Select Submit to begin the job.
Delete or inactivate the corresponding Lead Manager field in workbench.