- 11 Jul 2024
- 2 Minutes to read
- Print
- DarkLight
Configuring the Activity Form Template
- Updated on 11 Jul 2024
- 2 Minutes to read
- Print
- DarkLight
The Generic Form Activity is a part of the Template Type drop-down list in the Manage Activity Fields screen.
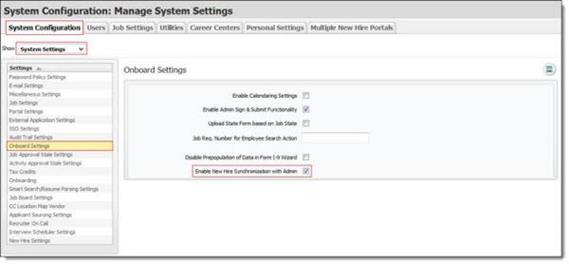
This activity option is visible in the Template Type drop-down list only if the Enable New Hire Admin Synchronization with Admin check box setting is turned on in System Settings → Onboard Settings.
Enable the ability to sync New Hire status data with Admin as follows:
Note: For Steps 1 - 5, the default values are provided, but clients can still choose to change the values.
In the Global Toolbar, display the Settings menu and then select Settings.
Select the System Configuration tab, if not already selected, to display system configuration options.
Display the Show drop-down list and then select System Settings.
Select Onboard Settings from the Settings pane to display the Onboard Settings page.
In the Onboard Settings section, select Enable New Hire Synchronization with Admin.
Figure 18. Enable New Hire - Admin Synchronization

In the Global Toolbar, display the Settings menu and then select Settings.
Select the System Configuration tab, if not already selected, to display system configuration options.
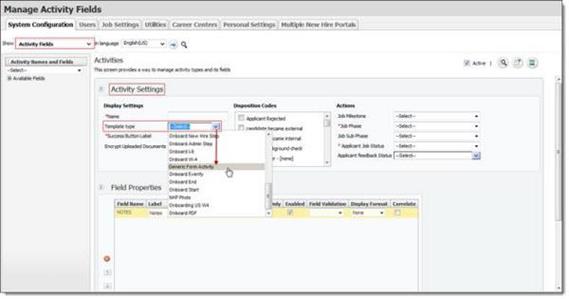
Display the Show drop-down list and then select Activity Fields.
In the Manage Activity Fields screen, Activity Settings section,
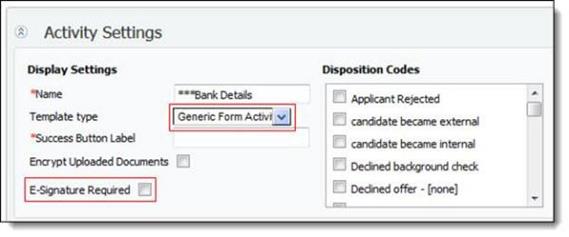
Select Generic Form Activity from the Template type field drop-down list. The E-Signature Required check box field now displays.
Note
The E-Signature Required check box is not an option for other Template types.
Figure 19. New activity added

Select the E-Signature Required check box to include an e-signature step in the form wizard (if desired).
Figure 20. E-Signature required check box

Expand Available Fields by selecting the plus (+) symbol to add fields to the activity. (These fields then display on the first page of the form wizard.)
Note
If the default Notes field is enabled it will display in the Talent Suite.
Select Job Phase and Applicant Job Status in the Actions section.

Map the fields added to the Generic Form Activity to the PDF form as follows.
Select Settings → Job Settings → Forms and then select the activity created from the drop-down list.
Note
System fields that do not require an initial entry or update can also be mapped to the PDF form and displayed on the last page of the form wizard.
These fields can be mapped to the PDF form and do not need to be added the Activity.
For example: The applicant First Name and the applicant Last Name may be displayed on a form and not be captured in the Generic Form Activity.
