- 16 Mar 2024
- 1 Minute to read
- Print
- DarkLight
Create, Send, and View All Notices
- Updated on 16 Mar 2024
- 1 Minute to read
- Print
- DarkLight
Abstract
Product: Lead Manager
Create, Send, and View All Notices.
Relevant eLearning:
Process:
Create A Notice.
Select Menu → Create Notice.
The Create Notice window opens.
Select the To pull-down menu.
Check Myself to add the notice to your notices. Check other users to add the notice to their notices.
Select the Calendar icon to insert a due date.
Insert the Notice text in Message.
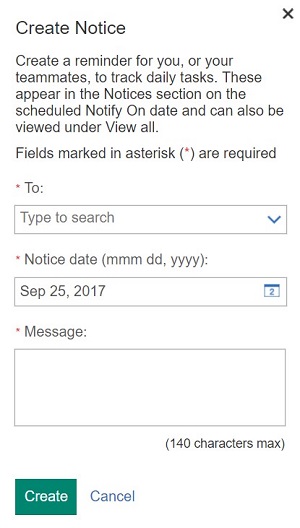
Select Create.
Create A Notice with an attached Lead or Campaign Profile.
Access My Campaigns, All Campaigns, My Leads, Unassigned Leads, or access a list of Leads:

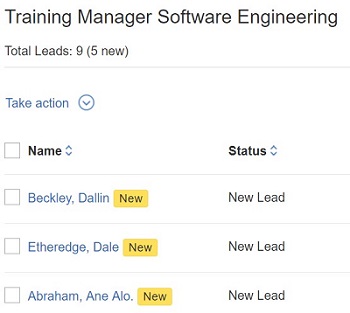
Check a Lead or Campaign.
Select Take action → Create Notice.
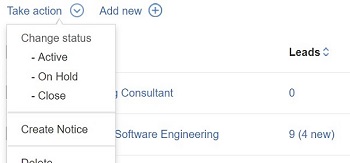
The Create Notice window opens.
The Regarding field lists the Campaign or Lead Attached and cannot be edited.
Select the To pull-down menu.
Check Myself to add the notice to your home page.
Check other users to add the notice to their home pages.
Select the Calendar icon to insert a due date.
Insert the Notice text in Message.
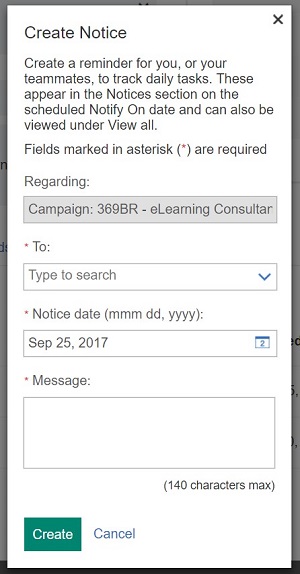
Select Create.
View All Notices:
Select Menu → All Notices.
The All Notices window opens.
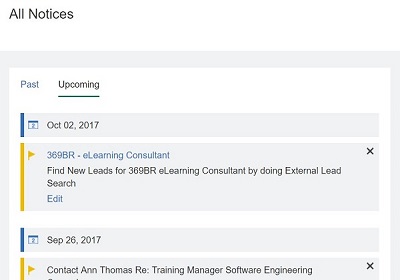
Select Past to access Notices that have due dates in the past, or Upcoming to see upcoming notices.
