- 29 Feb 2024
- 1 Minute to read
- Print
- DarkLight
View and Lock Events
- Updated on 29 Feb 2024
- 1 Minute to read
- Print
- DarkLight
Abstract
Product: Event Manager
Process
View Scheduled Events
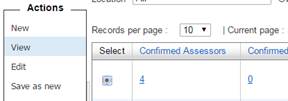
In the Scheduled Events list, select an event, and select Actions → View.

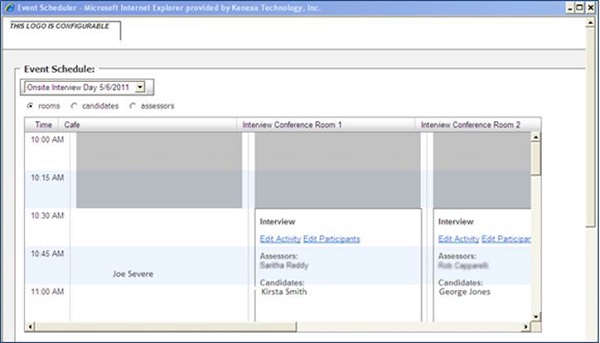
The Event Scheduler page displays with the room view as the default view.

Use the radio buttons to view rooms, candidates, or assessors.

The View screen can be accessed by selecting the hyperlinked event name in Scheduled Events.
Exporting or Printing
On the View Screen, select Print.
The table displays. Select Export to PDF or Export to Excel to export the table to the format selected.
Locking Events
On the Scheduled Events screen, you can use the event Lock and Unlock features.
Locking an event means candidates can’t register, reschedule, or cancel from the registration page. Registration locking can be automatic if configured for the event. Unlocking an event allows candidates to temporarily or permanently register, reschedule, or cancel from the registration page. Unlocking an event is useful in situations when candidates cancel or reschedule and you want to allow more candidates to fill these empty slots. When events are locked, event team members can still make changes.
To lock events, select Events → Scheduled Events.
Select the Event to be locked, and select Actions → Lock.
To unlock events, select Events → Sceduled Events.
Select the locked Event, and select Actions → Unlock.
